

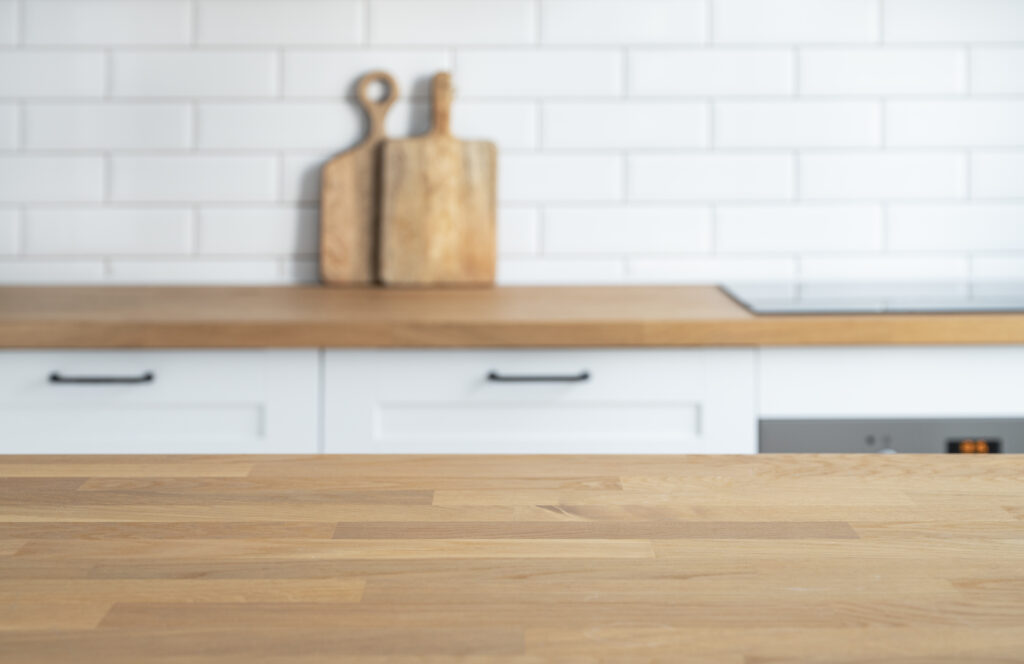
Wooden worktops are a beautiful addition to any kitchen, bringing warmth, character, and natural charm. However, as with any natural material, they require a bit of extra TLC to keep them looking fresh and pristine over time. If you’re wondering how to keep your wooden worktop in top-notch condition, here’s everything you need to know, from cleaning tips to preventative maintenance.
1. Regular Cleaning: Keep It Simple, Keep It Effective
The foundation of good wooden worktop care is regular cleaning. Wood is porous and can absorb spills, so keeping the surface clean is essential for maintaining its appearance and hygiene.
Daily Cleaning Routine
For everyday cleaning, use a soft cloth or sponge with warm, soapy water. Avoid harsh chemicals, bleach, or strong detergents, as these can strip away natural oils from the wood, leaving it dry and more vulnerable to stains and scratches. A mild dish soap diluted in water is ideal. Wipe the surface gently, ensuring you’re not over-soaking the wood, and then use a dry cloth to remove any excess moisture immediately.
Avoid Excess Water
Wood and water aren’t the best of friends. Standing water or excessive moisture can cause wood to swell or warp, so be mindful to wipe up spills as soon as they happen. In particular, avoid leaving wet items like dishcloths or cutting boards on the surface for prolonged periods.
2. Oil Regularly: Your Worktop’s Best Defence
Oiling is one of the most crucial steps in caring for a wooden worktop, as it helps maintain the wood’s natural moisture and creates a protective barrier against spills, stains, and general wear.
What Type of Oil to Use?
Use a food-safe mineral oil or a specialist wood oil designed for kitchen worktops. Danish oil and tung oil are popular choices because they’re both durable and enhance the natural colour and grain of the wood. Avoid cooking oils like olive oil, as they can go rancid and leave a sticky residue.
How Often Should You Oil?
New wooden worktops need to be oiled more frequently to build up a solid protective layer. For the first few months, aim to oil the worktop every week, then reduce this to every three to six months for ongoing maintenance, depending on the level of use. A good rule of thumb is to re-oil as soon as the wood starts looking a little dry or losing its sheen.
How to Apply Oil
- Prepare the Surface: Clean the worktop thoroughly and let it dry completely.
- Apply the Oil: Using a soft cloth or brush, apply a generous, even layer of oil along the grain of the wood. Work it into the surface, covering every part of the worktop.
- Allow to Soak: Let the oil soak in for about 20-30 minutes. If the wood absorbs it quickly, you may want to add a second layer.
- Wipe Off Excess: Use a clean, dry cloth to remove any leftover oil and buff the surface for a smooth finish.
This oiling process not only protects the worktop but also enhances its natural beauty, bringing out the grain and giving it a richer, more luxurious finish.
3. Prevent Scratches and Dents: Gentle Use and Extra Care
While wood is durable, it’s still susceptible to scratches, dents, and other signs of wear, especially in high-traffic areas of the kitchen.
Use Cutting Boards
Never chop directly on the worktop. Not only will cutting into the wood leave scratch marks, but it can also dull your knives. Invest in a good set of cutting boards to use for food preparation, helping keep your worktop looking smooth and scratch-free.
Avoid Dragging Heavy Items
Heavy appliances or sharp-edged items can dent or scratch the wood if they’re dragged across the surface. Lift rather than drag any objects, particularly heavy cookware or large appliances, to protect the wood.
Protect from Heat
Wood is sensitive to temperature changes, and placing hot pans or dishes directly on the surface can lead to scorch marks or even cracks. Use trivets, heat mats, or coasters under any hot items to shield the wood from direct heat and preserve its appearance.
4. Treat Stains Promptly: The Sooner, The Better
Stains can be a bit tricky with wooden worktops, as wood can absorb certain liquids if left unchecked. However, prompt treatment can prevent most stains from setting in.
How to Remove Light Stains
For mild stains or spots, make a paste with baking soda and water. Apply this to the stained area and gently rub it in with a soft cloth. Baking soda is a mild abrasive and can help lift stains without damaging the wood. Rinse with a damp cloth and dry thoroughly afterward.
Dealing with Tough Stains
For more stubborn stains, you may need to lightly sand the affected area. Use fine-grit sandpaper and rub gently along the grain of the wood to avoid creating an uneven surface. After sanding, wipe away any dust and re-oil the worktop to restore its finish and protect the exposed wood.
5. Sanding: Refreshing the Surface
Over time, your wooden worktop may show signs of wear, such as light scratches, dullness, or slight discolouration. Sanding is an excellent way to give it a fresh start and restore its appearance.
How to Sand Your Worktop
- Clean and Dry the Surface: Make sure the worktop is free from any dirt, dust, or grease.
- Choose the Right Sandpaper: Start with a medium-grit sandpaper (around 120 grit) for initial smoothing, then finish with a finer grit (around 240 grit) to polish.
- Sand Along the Grain: Use smooth, even strokes, following the wood grain to avoid creating scratches. Sanding against the grain can leave visible marks, so take your time to do this carefully.
- Wipe and Re-Oil: After sanding, wipe down the surface with a damp cloth to remove any dust, then apply a fresh coat of oil to seal and protect the wood.
Sanding is a powerful way to bring back the wood’s original look, removing any blemishes and restoring its natural beauty.
6. Seasonal Care: Keep an Eye on Temperature and Humidity
Wood naturally expands and contracts with changes in temperature and humidity, so you may notice slight differences in your worktop’s appearance or feel during different seasons. This is normal and part of the natural charm of wood.
Maintain a Stable Environment
If possible, try to keep the kitchen at a stable temperature and humidity level. Too much moisture in the air can cause the wood to swell, while very dry conditions can make it shrink. Using a dehumidifier in summer and a humidifier in winter can help maintain the wood’s integrity.
Consider Placement
Avoid installing wooden worktops directly next to heat sources like radiators, as this can lead to warping over time. Similarly, if your worktop is adjacent to a window, be mindful of direct sunlight exposure, as prolonged sun exposure can cause wood to fade or dry out.
7. Regular Inspection: Catch Small Issues Early
Finally, regular inspection is key to keeping your wooden worktop looking new. Every few months, check for any signs of wear, scratches, or dryness, and address them promptly to prevent them from developing into larger issues.
Small touch-ups—like buffing out light scratches or applying a quick spot of oil—can go a long way in maintaining that ‘like-new’ appearance. A little effort here and there will keep your wooden worktop beautiful, functional, and fresh for years to come.
With a bit of regular care, your wooden worktop can remain the centrepiece of your kitchen, looking as good as the day it was installed. Follow these tips, give it the TLC it deserves, and you’ll enjoy a stunning, durable, and natural work surface that adds warmth and character to your home.